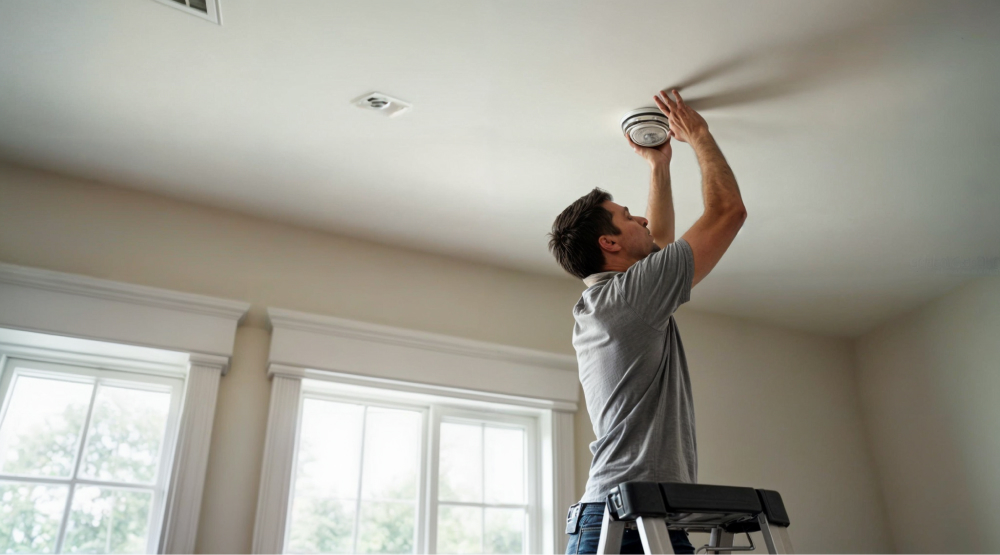
Keeping your home safe is a top priority, and one of the simplest ways to do that is by ensuring your smoke detectors are functioning properly. Smoke detectors are essential for early warning in case of a fire, and maintaining them is a straightforward DIY task you can perform. In this guide, we’ll walk you through how to test your smoke detectors and replace their batteries, helping you keep your family safe.
Why Regular Maintenance of Smoke Detectors Is Important
Smoke detectors save lives by providing early alerts, allowing you and your family to evacuate promptly during a fire. However, they can only do their job if they’re functioning correctly. The National Fire Protection Association (NFPA) recommends testing your smoke detectors at least once a month and replacing the batteries at least once a year.
What You’ll Need
- A step stool or ladder
- New batteries (check your smoke detector for the specific type)
- A soft cloth or vacuum cleaner with a brush attachment
- Optional: A can of compressed air
Step-by-Step Guide
1. Locate All Smoke Detectors
Begin by identifying all the smoke detectors in your home. They are typically installed on ceilings or high on walls in bedrooms, hallways, and living areas.
2. Perform a Safety Check
- Ensure you have a stable ladder or step stool.
- Let household members know you’ll be testing the alarms to prevent unnecessary panic.
3. Test the Smoke Detector
- Press and Hold the Test Button: Climb the ladder carefully. Press and hold the test button on the smoke detector. It may take a few seconds to respond.
- Listen for the Alarm: A loud siren indicates the detector is working properly. If the sound is weak or nonexistent, it’s time to replace the batteries or the entire unit if it’s hardwired.
4. Replace the Batteries
- Remove the Smoke Detector: Depending on the model, you may need to twist or slide it off its mounting bracket.
- Open the Battery Compartment: Locate the battery compartment, which is usually on the back of the unit.
- Remove Old Batteries: Take out the old batteries and dispose of them properly.
- Insert New Batteries: Install the new batteries, ensuring the positive and negative terminals align correctly.
- Close the Compartment and Reattach: Secure the battery compartment and reattach the smoke detector to its bracket.
5. Clean the Smoke Detector
- Dust the Exterior: Use a soft cloth to wipe away dust and debris from the outside.
- Clean the Interior (Optional): Gently use a vacuum cleaner with a brush attachment or compressed air to remove dust from the vents. This can prevent false alarms and ensure proper functioning.
6. Perform a Final Test
- After replacing the batteries and cleaning, press the test button again to confirm the smoke detector is working properly.
7. Record the Maintenance Date
- Label the Detector: Write the date of battery replacement on the inside of the unit or on a piece of tape attached to it.
- Set Reminders: Mark your calendar or set an annual reminder to replace the batteries next year.


